

Quick Answer: How Do I Get Started With Liquid Deicing?
Start small and build a repeatable process. Choose the right liquid application equipment, establish a reliable brine supply, select a handful of accounts where liquids make sense, train operators, and track application rates, material usage and results before expanding.
| Area | What to Consider |
|---|---|
| Liquid Application Equipment | Tank capacity, pump output, application rate control, boom configuration and vehicle compatibility. |
| Brine | Decide whether to purchase brine, produce it yourself, or use a combination of both. |
| Storage | Have enough capacity to keep crews working without creating unnecessary refill or production delays. |
| Starting Plan | Choose a few accounts and applications, learn what works, track results and expand from there. |
If you already understand the basics of liquid deicing, the next question is simple: How do I actually get started with liquids?
The best approach is not to convert your entire snow and ice management operation overnight. Start by choosing the right equipment, establishing a reliable source of brine, selecting a handful of accounts where liquids make sense, and learning how to sell the service to property owners.
A practical starting plan looks like this:
Choose liquid application equipment based on your routes, vehicles, application rates and growth plans.
-
-
-
Decide whether you will make your own brine or source it from a supplier.
-
Select a few accounts or applications where you can learn and refine your process.
-
Start with sidewalks, pre-treatment or other applications where liquids can demonstrate their value.
-
Track your material usage, application rates, labor and results.
-
Use what you learn to build a repeatable liquid service and gradually expand it to additional accounts.
-
-
The goal is not simply to start spraying brine. The goal is to build a liquid operation that is consistent, measurable and scalable. You do not necessarily need to convert every truck, every account or every application to liquids immediately.
Starting smaller can help you learn how liquids behave across different surfaces, temperatures, storm types and application scenarios before making a larger investment.
Want the Full Roadmap for Getting Started With Liquids?

1. Choose Liquid Application Equipment
The first major decision is the equipment you will use to apply liquid.
This does not mean simply choosing the biggest tank you can fit on a truck. A good liquid system should give you control over how much material you apply, where you apply it and how consistently you apply it.
When evaluating a sprayer, look beyond tank capacity and consider the entire system.
Equipment Features to Consider Before a Purchase
GPS Rate Control
One of the most important features for a liquid sprayer is automatic application rate control.
GPS rate control monitors vehicle speed and dynamically adjusts liquid flow to maintain the desired application rate. This helps prevent over-application when traveling slowly and under-application when traveling faster.
For a contractor, that means the operator can set the desired application rate and concentrate on the route instead of constantly adjusting the sprayer manually.
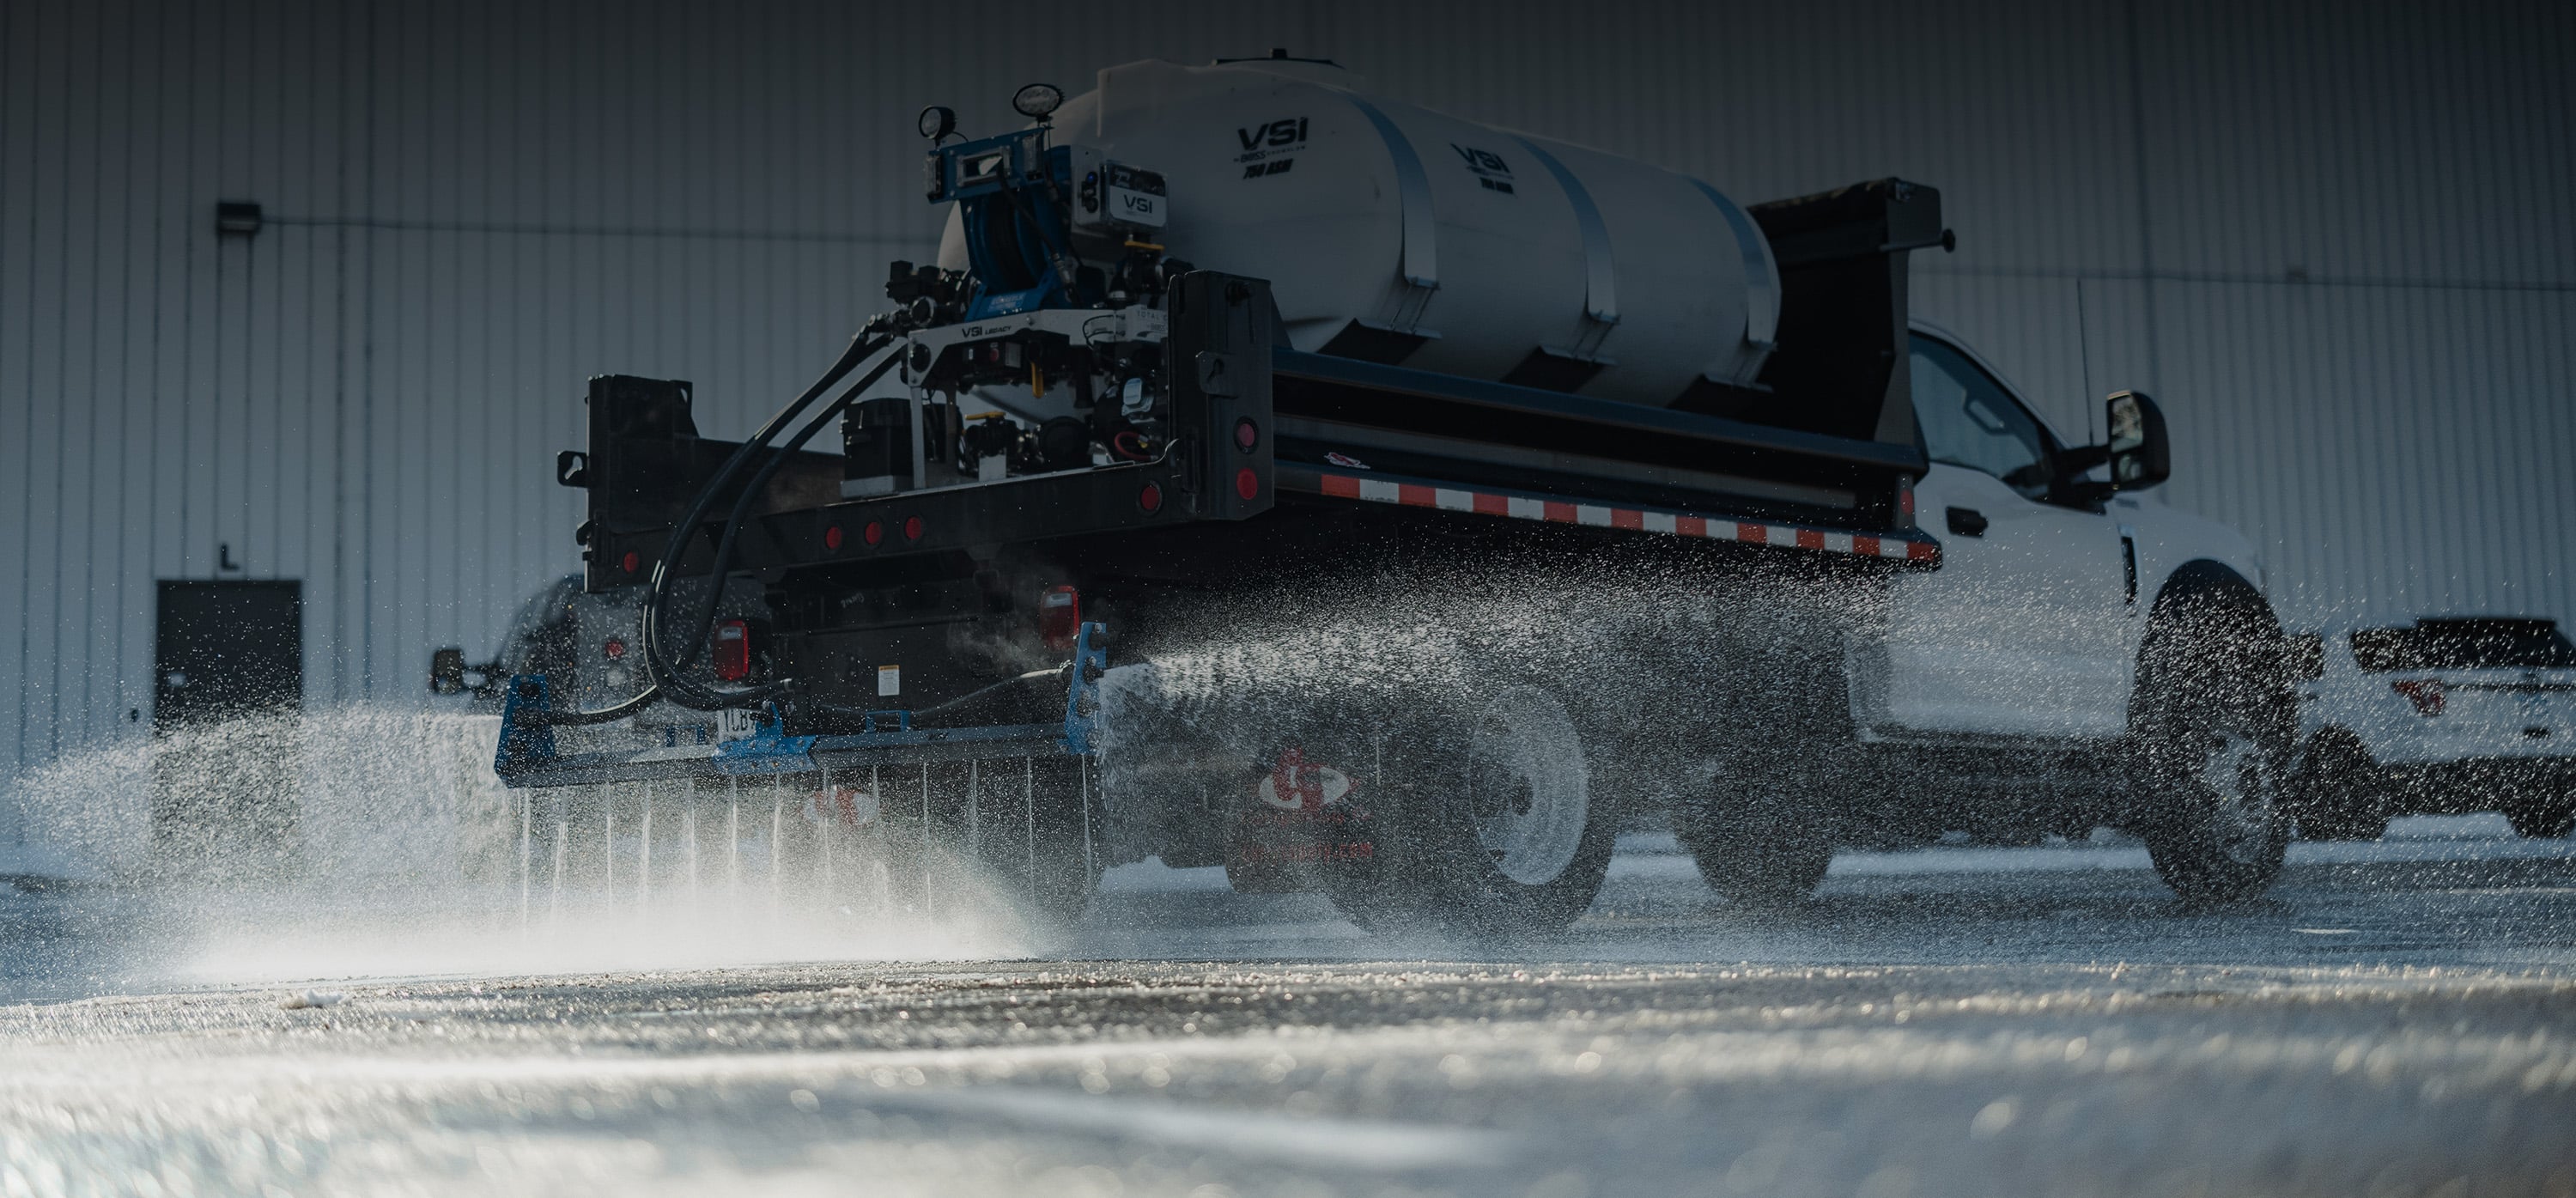
The VSI by BOSS LiquidTech system, for example, uses GPS rate control to dynamically adjust flow based on vehicle speed. The system can also be controlled through the VSI Spray Control App.
Why it matters: Consistent application is critical when you are trying to understand your material costs and build repeatable best practices.
A Rugged, Flexible Boom
Your boom is where the liquid actually meets the pavement, so its design matters. Look for a boom that can handle the working environment of a snow and ice operation while providing enough application width and flexibility for your routes.
A well-designed boom should also give you options for different applications.
The VSI by BOSS LiquidTech Three Lane “Pile Driver” Boom uses jet tips for post-treatment and high-speed pre-treatment applications, while broadcast tips provide coverage for lower-speed pre-treatment.
That flexibility becomes especially useful when one truck is expected to handle multiple types of liquid applications.
Smartphone and Application Tracking
Liquid application becomes much easier to manage when the equipment can provide useful operational data.
Look for a system that allows operators to monitor and adjust application settings from a smartphone or connected device.
Useful information can include:
-
-
-
-
-
-
Total product usage
-
Product usage by account
-
Current tank level
-
Application rate
-
Job or route information
-
Equipment status
-
-
-
-
-
The VSI Spray Control App provides these types of monitoring and control capabilities, including tracking product usage by account and adjusting application rates. This is more than a convenience feature—it’s a business tool that helps contractors understand where material is being used, manage application rates, track costs by account and build more repeatable application practices. The more accurately you can track your liquid usage, the easier it becomes to identify opportunities to improve material efficiency and protect profitability.
High-Output Pumping
Your pump needs to match the way you intend to use the sprayer.A contractor treating parking lots at lower application rates has different requirements from one trying to pre-treat large areas quickly or post-treat at higher application rates.
The BOSS Liquid Powerhead is designed for high-output liquid application and can pump up to 71 gallons per minute. The system can deliver spray widths of up to 30 feet at speeds up to 15 mph, depending on the application setup.
The important takeaway is to match pump capacity to your intended production rate rather than simply buying equipment based solely on tank size.
A System That Can Scale
Your first liquid setup likely won't be your last. If you are building a liquid operation from the ground up, look for equipment that allows you to increase capacity as your business grows. A modular approach can allow contractors to build a system around their current operation while providing room to expand as liquid demand grows.
The VSI by BOSS LiquidTech lineup includes multiple tank configurations, including 305-, 500-, 750-, 1,000- and 1,600-gallon tank skids, along with the LiquidTech Gas Powerhead. In 2026, BOSS Snowplow separated the Powerhead from the tanks. As your operation grows, you can scale your tanks to match without reinvesting in the Powerhead with each tank.
Think about your first setup as the foundation of your liquid operation—not necessarily the final version of it.
Equipment Checklist
Before purchasing a sprayer, answer these questions about your operation:
Answering these questions first will help you select equipment around your operation instead of trying to build your operation around the equipment.
2. Decide How You Will Source and Store Brine
Once you have application equipment figured out, the next question is:
Where will the liquid come from?
There are two basic approaches: purchase brine from a supplier or produce your own.
For contractors using smaller quantities, purchasing brine locally may be the simplest way to get started. As liquid usage increases, producing and storing your own brine can provide more control over supply and production.
If you decide to produce your own brine, the basic operation needs to accomplish three things:
-
-
-
Mix brine consistently to the desired salinity.
-
Transfer the finished brine into storage.
-
Transfer brine from storage into your application equipment.
-
-
A brine-making system should also be designed around your available water supply. Reliable access to water is an important consideration when determining how quickly and consistently you can produce liquid.
Buying Brine vs. Making Your Own
| Approach | Best Fit | Considerations |
|---|---|---|
| Purchase Brine | Getting started or using smaller quantities | Less infrastructure, but greater dependence on supplier availability and delivery. |
| Make Your Own | Significant or growing liquid demand | More control over production, but requires equipment, storage and infrastructure. |
| Hybrid | Transitioning to a larger operation | Provides flexibility while production and storage capacity are being developed. |
If you decide to produce your own brine, consider the entire process rather than the brine maker alone.
You will need to think about:
-
-
-
Salt supply
-
Water supply
-
Mixing capacity
-
Brine production rate
-
Storage tanks
-
Transfer pumps
-
Loading and unloading
-
Salinity measurement
-
Space at your facility
-
Expansion capacity
-
-
The BOSS Legacy Brine Maker, for example, is designed to produce up to 3,500 gallons of brine per hour and includes a built-in Bluetooth salinity indicator to help determine when a batch is ready for transfer.
How Much Brine Storage Do You Need?
Storage requirements depend heavily on how much liquid you use per event.
A contractor treating a handful of accounts will have dramatically different requirements from a contractor running multiple liquid trucks through a large commercial route.
A useful starting point is to calculate your expected liquid consumption based on:
-
-
-
Total acres treated
-
Application rate
-
Number of applications per event
-
Number of trucks or pieces of equipment
-
Expected number of storm events
-
Time available for producing or purchasing additional brine
-
-
The important lesson is that storage should be planned around your consumption and ability to replenish between events.
As your routes grow, another opportunity is to place refill tanks closer to your customers. A strategically located refill station can reduce the amount of time trucks spend driving back to a central yard.
Every minute spent driving back to refill is a minute the truck is not treating a customer.
Remote storage can become particularly useful once you have established repeatable liquid routes and know where your crews consistently need additional product.
Start With the Storage You Actually Need
Do not build a massive brine operation before you know how much liquid your business will consume.
Instead:
-
-
-
Estimate your expected acres per event.
-
Determine your application rate.
-
Calculate your gallons required.
-
Estimate how many events you need to be prepared for.
-
Account for refill and production time.
-
Build storage capacity around that demand.
-
Leave room to expand.
-
-
The goal is to have enough liquid available to keep your crews working without spending money on storage capacity that will sit unused.
3. Choose the Right Accounts to Start With
This is where many contractors can make their transition to liquids easier. Do not start by trying to convert every account. Instead, choose a small group of properties where liquids make sense and use those accounts to develop your process.
Starting with a focused group allows your team to learn how different application rates, weather conditions, surfaces and property layouts affect your results before expanding liquids across your entire portfolio.
What Makes a Good Starter Account?
Look for properties where you can easily measure the results of liquid application.
Good candidates may include:
-
-
-
Commercial parking lots
-
Office complexes
-
Retail properties
-
Parking garages
-
Low-traffic properties
-
Properties with recurring ice-control needs
-
Accounts where sidewalks are a significant portion of the service
-
Properties where salt tracking is a customer concern
-
Accounts where you already have a strong customer relationship
-
-
You are looking for accounts where your team can learn without putting your entire operation at risk.
Sidewalks Can Be a Good Place to Start
Sidewalks are particularly useful for contractors learning how to work with liquids.
Contractors can use smaller liquid systems, hose reels, walk-behind sprayers and liquid-equipped sidewalk equipment to introduce liquids without immediately redesigning their entire truck fleet.
For example, the BOSS SR MAG can be equipped with a 40-gallon brine tank, adjustable flow rates and a 40-inch walkway boom. It also includes a spray wand for hard-to-reach areas.
The BOSS Genesis Sidewalk Slayer or BOSS Legacy Sidewalk Slayer provide another option for sidewalk operations, with a 200-gallon capacity and a 50-foot spring-rewind hose reel on the Genesis Sidewalk Slayer and a 100-foot electronic hose reel on the Legacy Sidewalk Slayer.
This gives contractors another way to introduce liquids without immediately redesigning their entire truck fleet.
Build a Small Test Portfolio
Consider selecting three to five accounts that represent different conditions depending on your account portfolio.
| Account Type | What You Can Learn |
|---|---|
| Large Parking Lot | Route efficiency, application rates and production requirements. |
| Small Commercial Property | Application accuracy and account-level material usage. |
| Parking Garage | Surface and temperature considerations in a controlled environment. |
| Sidewalk-Heavy Property | Smaller-equipment applications, hose reels and pedestrian-area treatment. |
| High-Visibility Customer | Customer communication, service expectations and feedback. |
The exact number is less important than the principle. Start small enough that you can pay attention to what is happening. Track what you apply, when you apply it, how much you use and what the surface looks like afterward. Then use those results to refine your process.
4. Learn How to Sell Liquids as a Service
Equipment is only half of the transition. You also need to know how to explain liquids to your customers.
The conversation should not start with:
“We bought a liquid sprayer,” or "We're offering liquid deicing."
It should start with:
“Here is how we can improve the way your property is treated.”
Property owners generally care about outcomes—not your equipment. They want a property that is properly maintained and managed throughout a snow and ice event.
Focus on the Customer's Benefits
When talking about liquid deicing, focus on benefits that the property owner can understand.
Consistent Application
Rate-controlled liquid equipment helps contractors apply a consistent amount of material across a property. That can make it easier to explain what the customer is receiving and easier for the contractor to track material usage.
Less Tracking
One of the most noticeable differences for property owners can be what does not happen after a liquid application. Granular material can bounce, scatter and be carried into buildings by vehicles and foot traffic. Liquid is applied directly to the surface, which can reduce the amount of material tracked into buildings.
Better Pre-Treatment
Liquid can be used before a storm to help prevent snow and ice from bonding to the pavement. That can make subsequent snow removal easier and give contractors another tool for managing snow and ice throughout an event.
Material Management
Liquid application also gives contractors another way to manage material use. With controlled application rates and usage tracking, contractors can better understand how much product is being applied to each account and adjust their approach as they gain experience.
Instead of making the conversation about replacing rock salt, make it about improving the service.
A simple conversation might look like this:
“We’d like to introduce a new approach to treating your property this winter. Rather than relying exclusively on granular material, we can use liquid applications before and after storms to help prevent bonding, reduce the amount of salt used per season, improve treatment consistency and reduce material that gets tracked into your building. We’re offering liquid deicing exclusively to a handful of properties this season, and we believe your property could be a good fit.”
Answering the “But I Won't See the Salt” Objection
One common concern is that customers associate visible salt with evidence that a property has been treated. That is an education opportunity.
Explain that seeing salt is not the same as measuring effective ice control.
The objective is not to leave material visible on the pavement. The objective is to apply the appropriate amount of product for the conditions and application.
Sell the Result, Not the Gallons
Customers generally do not need to understand every technical detail of your liquid system.
They need to understand:
-
-
-
What you are applying
-
Why you are applying it
-
When you will apply it
-
What result they should expect
-
How you will monitor the service
-
-
Your job is to turn liquid deicing from an unfamiliar product into a clearly defined service.
A Simple First-Season Liquid Plan
If you are new to liquids, do not overcomplicate the first step. Start with one manageable application and build from there.
A practical path looks like this:
Match vehicle capacity, tank size, pump output, application rate, boom configuration, controls and tracking capabilities to your routes.
Decide whether to purchase brine, produce it yourself or begin by purchasing and transition to production as demand grows.
Start with a handful of properties instead of changing your entire operation at once. Once you've picked the accounts, explain the benefits to the customer.
Cover application rates, controls, boom patterns, pre- and post-treatment timing and usage tracking.
Record accounts, weather, application type, rates, gallons, acres, labor, refills, surface results and customer feedback.
Use first-season data to determine where liquids worked, where application rates need adjustment and where the operation can improve.
The biggest mistake is treating liquid deicing as simply another piece of equipment. It is a change in how you manage material, equipment, routes, applications and customer expectations. The more data you collect during your first season, the easier it becomes to determine where liquids fit into your operation and where they can deliver the most value.
Where to Go From Here
Build Your Liquid Program Over Time
Your first season with liquids should give you more than experience with the equipment. It should give you a clearer understanding of where liquid applications fit into your routes, which accounts benefit most, how much material you actually use and where you can improve efficiency.
Use that information to make smarter decisions as the program grows. The goal is not to change everything at once—it is to develop a liquid operation that works for your crews, your customers and your business.
Ready to Get Started With Liquids?
The first step is figuring out what a liquid setup should look like for your operation. Consider your vehicles, routes, acreage, application strategy, storage needs and the accounts you want to target first. From there, you can build a liquid system that fits your current operation while giving you room to grow.
More Liquid Deicing Resources
If you're ready to go deeper, these resources can help you better understand liquid deicing, its applications and the opportunities it can create for your snow and ice management operation.
Frequently Asked Questions