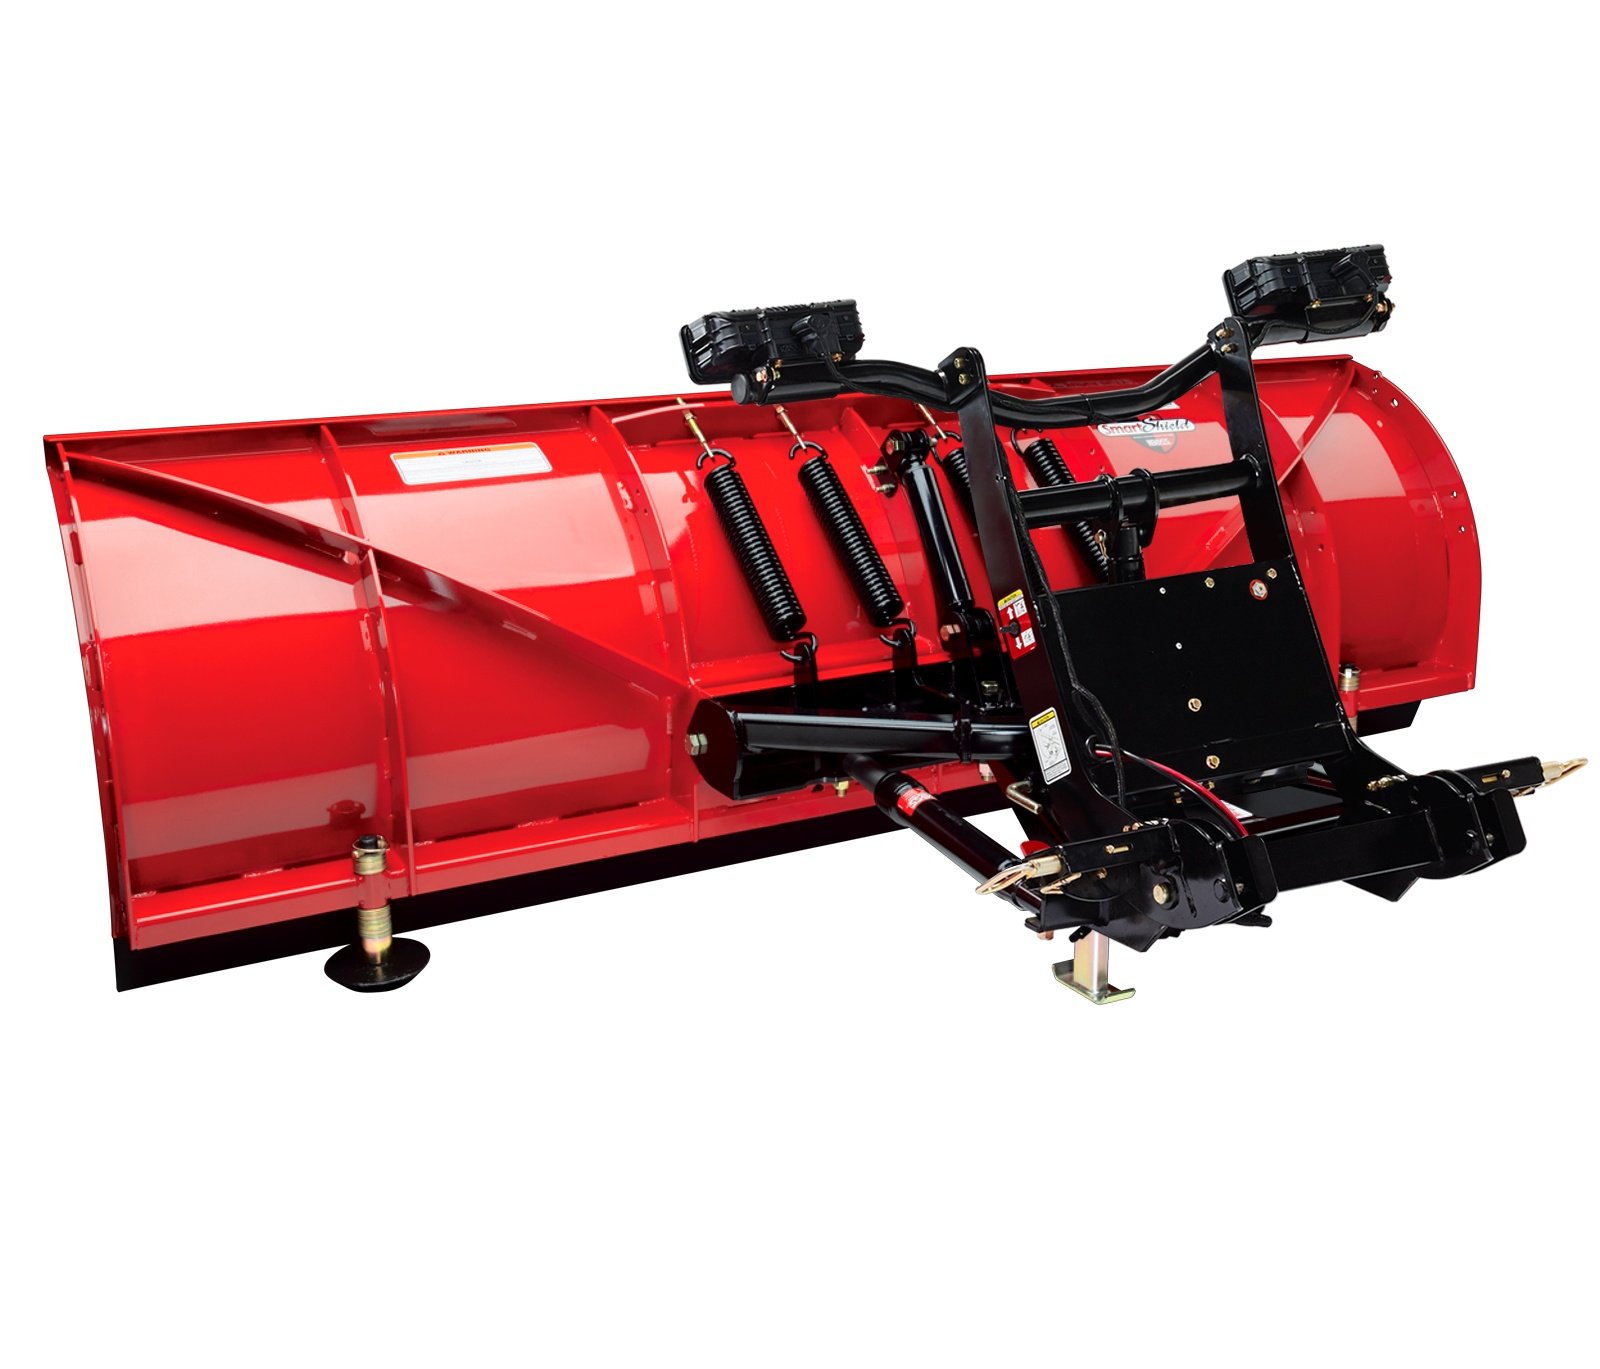
Plowing is tough on equipment; there is no way around it. Snow removal is done in some of the harshest environments and hidden objects often wreak havoc at the most unsuspecting times. There are a few items on BOSS plows that are considered normal wear items due to the rugged abuse they encounter. Trip springs are one of the most replaced items on a plow, whether it is a straight-blade or v-plow. V-plow users will notice that as trip springs wear, they have the tendency to sag in “scoop” mode as well as trip much easier while windrowing in straight mode. Straight-blade users will notice their plow tripping at a much earlier rate over objects the plow would normally not trip over. Proper spring tension will prolong the life of the springs. Fortunately, replacement of the trip springs is a quick task that requires only a few tools to accomplish.
Straight-Blade Trip Spring Replacement
The trip spring replacement process is the same across BOSS’ entire line of straight-blade plows.
Number of Replacement Springs: 
HTX and Sport-Duty Plows
2 Springs
Standard-Duty Plows 3 Springs
Super-Duty and Heavy-Duty Plows 4 Springs
All plows require the same spring (MSC01509) and same hardware (HDW01744), except for Standard- Duty plows which require hardware (MSC05056).
Straight-Blade Plows
Remove the existing Trip Springs-
-
Remove the ½” Nylon Lock Nut from the Eye Bolt that holds the top of the spring to the plow. Start with the outer springs first as these will need to be removed before the inner springs.
-
Once the Lock Nut is removed, lower the Eye Bolt until it is no longer through the hole on the top of the plow. (Note: The entire coupler tower may need to be lowered in order to remove the springs. Use a jack to support the coupler tower, raise the kickstand on the plow, and safely lower the coupler tower until the springs can be removed).
-
Rotate the spring in order to remove it from the rib in the Push frame Attachment Bar. Once the outer springs are removed, repeat the process for the inner springs. Affected hardware is recommended to be replaced at the time of spring replacement.
Replacing the Trip Springs-
-
For replacement, begin by installing the Eye Bolt onto the end of the spring. Install the Push Nut Retainer onto the Eye Bolt (tabs must be facing away from the Eye Bolt). Hook the springs through the holes in the Push frame Attachment Bar and rotate springs up until Eye Bolts can be reinstalled through the top of the plow.
-
Once the Eye Bolts are inserted through the plow, install the Flat Washer and the Nylon Lock Nut.
-
Tighten each spring. Proper spring tension is achieved when a business card can be inserted between the coils of the spring.
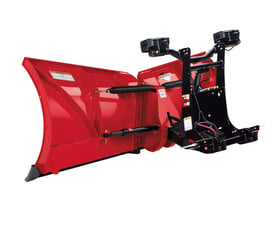
V-Plow Trip Spring Replacement
 Number of Replacement Springs:
HTX V-Plows 2 Springs
DXT and V-XT Plows 4 Springs
10’ Heavy Duty DXT 4 Springs*
Similar to the Straight Blade plows, V-Plows use MSC01509 springs. The 10’ Heavy Duty DXT uses MSC07705* springs. HTX-V plows will require hardware kit HDW01744, while V-XT and DXT will require MSC05056. The 10’ Heavy Duty DXT uses HDW17603.
HTX-V Plows
Remove the existing Trip Springs-
-
To start, support the Coupler Tower with a jack and/or jack stands. For HTX-V, remove the two ½” Nylon Lock Nuts from the Eye Bolts that hold the trip springs in place.
-
Once Lock Nuts are removed, slide the Eye Bolt out of the hole in the Push frame and rotate the spring out of the hole in the Center Section.
Replacing the Trip Springs-
-
For replacement, begin by installing the Eye Bolt onto the end of the spring. Install the Push Nut Retainer onto the Eye Bolt (tabs must be facing away from the Eye Bolt). Hook the springs through the holes in the Center Section. Align the Eye Bolts through the holes in the Push frame. Secure the Eye Bolts to the Push frame using ½”Flat Washers and ½” Nylon Lock Nuts.
-
Tighten each spring. Proper spring tension is achieved when a business card can be inserted between the coils of the spring.
V-XT and DXT Plows
Remove the existing Trip Springs-
-
For V-XT and DXT models, the process is similar. Again, support the Coupler Tower with a jack and/or jack stands. Remove the (4) 5/8” Top Lock Nuts from the trip springs. Slide the Eye Bolts out of the back of the Push frame. (Note: Lowering of the Coupler Tower may be necessary to remove the Eye Bolts.)
-
Rotate the springs to remove them from the Trip Spring Yoke.
Replacing the Trip Springs-
-
Reinstall the new springs onto the Trip Spring Yoke. Hook an Eye Bolt to the end of each spring and pass them through the back of the Push frame. Secure the Eye Bolts with Flat Washers and Top Lock Nuts.
-
Tighten each spring. Proper spring tension is achieved when a business card can be inserted between the coils of the spring.